Whether newly installed or already established, all plants need regular amounts of water. This is important for them to thrive and produce lush, healthy growth. Also, in the case of some plants, produce luscious fruits and luxe flowers. Finding the watering regimen that's right for your plants, soil, and climate can take some trial and error. However, here are some general guidelines to get you started.
If you have questions about watering your garden space (especially particular plants), please leave a comment below. We will do our best to get you on the right track!
No. 1: Compost, mulch (and mulch again)
We’ll say it again–soil that’s friable and drains well is your best friend when it comes to watering. Water can more easily reach the roots and hold moisture better. Before we dive into best practices for watering, remember to always be improving your soil. Do twice-a-year applications of organic compost. Also routinely layer on several inches of mulch to both hold moisture and feed soil organisms. Okay, lecture over. Let’s get to watering.
No. 2: An Ounce of Prevention
The best way is to keep the soil evenly moist and avoid letting it dry out too much between waterings. This will ensure that your plants do not become stressed and that the fine, hair-like projections on the ends of the roots do not become damaged. Not sure if you need to water? A simple solution is at your fingertips—just probe down a few inches to see if the soil is dry. Different plants have different needs when it comes to soil moisture. Some require consistently moist soil, while others need the soil to dry completely before getting more water. Monrovia's watering guidelines have been written with this in mind, so check the plant tag or information page on the website to see what level of soil moisture your plant needs.
No. 3: Hit the Ground
Avoid overhead watering and wetting leaves which can promote fungal diseases. Instead, water at the soil level and keep applying until the plant’s entire root ball is completely soaked.
No. 4: How Much is Enough
Be observant. Your plants will pretty much tell you what they need. Keep these tips in mind when watering your plants:
- Give trees and shrubs, especially newly planted ones, direct watering every 7 to 10 days.
- Don't rely on sprinklers or watering systems in the summer heat to deliver the necessary moisture, as roots will be wide and very deep.
- For perennials and annuals, you can water by hand, with an automatic irrigation system with moisture sensors, or with soaker hoses.
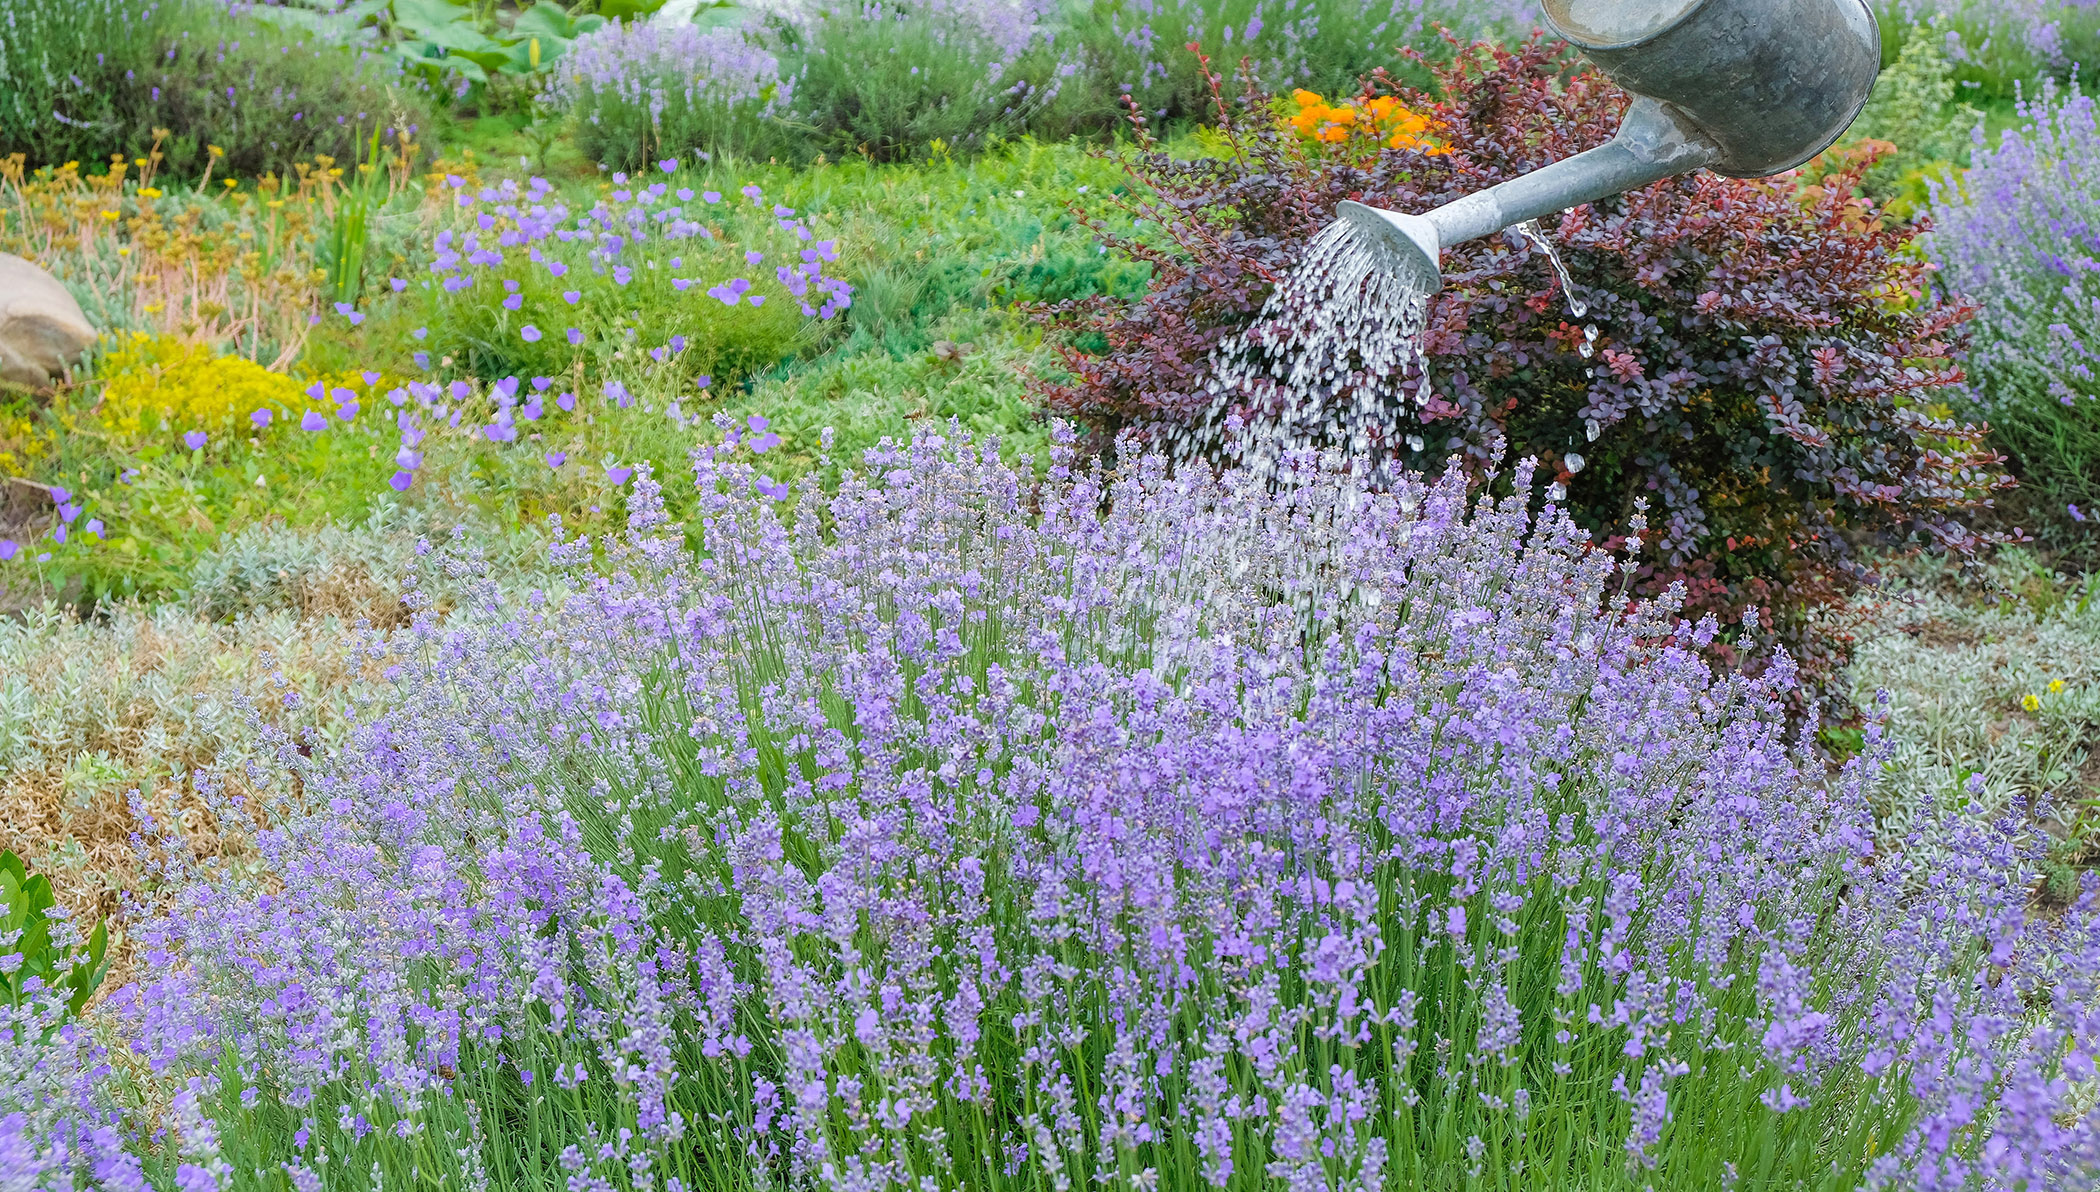
If watering with a hose or watering can, start slowly. Allow the top inches of soil to absorb water, then gradually add more water for a thorough soak. This can mean watering two or more times in a session.
If you employ an irrigation system—such as a soaker hose system—either depend on the moisture sensor or use the can test. This will help you figure out how long you'll need to run the system to get adequate water. (The "can test" simply places an empty can in the watering zone, turns on the watering system, and sees how long it takes to get one inch of water into the vessel. That will give you great info on how long to run your system.)
If using a drip soaker hose, consider the following:
- Use a moisture probe or just your finger to see how long it takes for the system to get soil thoroughly moist (1 - 2 inches below the surface).
- Set the timer accordingly based on the moisture level of the soil.
The roots are probably as wide as the plant and may be a foot or two deep, so consider this when determining how far out from the base of the plant to water thoroughly. One great way to get this right, especially with newly planted specimens, is to build a soil berm from compost. Apply 3 inches of compost around the plant, then pull it back from the base of the plant to the outer edge of the plant's canopy to form a circular wall. Fill that space with water twice or even three times until the water is absorbed.
No. 5: How Often?
If it doesn't rain, plan on one to two deep watering sessions per week. This is usually sufficient for most plants, and it equals about an inch of water per week. For fast-draining soils, a ½ inch of water over two sessions is best. With heavier clay soils, plan on one deep soak watering session per week.
Remember this golden rule: it's better to water less often (but with plenty of water) than to give your plants just a little water more often! (Think about it—less work for you, too!)
No. 6: Remember, your plant has four sides
Blasting one spot at the base of your plant can lead to one-sided root growth and plant stress. Here's the best way to ensure that you're getting water to all the roots on all sides of the plants. It is to put the hose on a trickle and lay it near the base of the plant. Let it run for 30 minutes or more. Then, move the hose to the other side of the plant and water as above. The next time you water, do this. Lay the trickling hose on the third and fourth sides of the plant that had not been watered previously. This way, over the course of a week, all sides are getting the water they need. (Plus, you can enjoy morning coffee or an evening glass of wine while waiting to move the hose!)
No. 7: Water late in the evening or early in the morning
The best time to water is in the early evening. (So any water on leaves can dry before the evening chill sets in.) Or in the morning between the hours of 6-10 a.m. The cooler weather reduces evaporation. It allows the plant to drink up all it needs to survive the day's heat.
This also means that you will need to resist the urge to grab the hose when it's 3 pm. When your plants are sad and wilted in the heat of the day. They will perk up when the cooler evening air sets in.
No. 8: Too much is, well, too much!
Plants need oxygen as much as they need water, and roots growing in waterlogged soil may die. This is because they cannot absorb the oxygen needed to function normally. It’s always best to water deeply and less frequently. If you see your neighbor out there everyday with the hose. Do them (and their plants) a solid and remind them of this bit of plant science! How do you know if you’re over watering? See box below.
What About Containers?

- Be sure your pot has adequate drainage holes. (If not, either drill them. Or, use the pot as a decorative vessel into which you place a pot with a drainage hole.)
- Water only when the top of the soil is dry. Before you grab the hose, check the surface of the soil in the pot by probing with your finger. Water your plants if the soil is dry to the touch one inch down (or looks dry).
- Water until water comes out of the drainage holes. This indicates that you have watered thoroughly and the root ball is evenly moist. Too little water inhibits the growth of deep roots, which plants need to do their best.
- Don't allow your pot to sit in standing water, as this can cause root rot. This is a condition that plants can rarely survive.
- As plants grow larger during the growing season and as summer heat sets in, check your containers at least twice a day and water as needed.
Signs You Might Be Overwatering!
- Stunted slow growth with yellowing or browning leaves.
- Leaf scorch or leaf burn.
- Water soaked spots and blisters (Oedema) on stems and leaves.
- Root rot that eventually leads to the crown of the plant dying. (This is a fungal disease that will cause the roots to turn grey, brown or slimy. It will eventually cause the plant to wilt.)
If you observe any of these indicators, immediately reassess your watering protocol. Then seek help from the professionals at a local garden center. Do not wait!
Best Tools for the Task
- Drip irrigation system with moisture sensor and timer: There are plenty on the market, from those with smart technology to old-school types that require more input from you.
- Soaker hose with timer: Ideal for all kinds of plants, particularly vegetables such as tomatoes.
- Watering can with fine rose (nozzle): While you'll NOT be watering foliage, this is a good way to get moisture to the plant's base slowly.
- Moisture meter: This is a very inexpensive gadget that's inserted into the soil (great for pots). It gives an instant reading about moisture levels and recommendations for watering.
- Watering wand: Attaches to a garden hose and dispenses a gentle spray that's very welcome to new growth. Great for gently hosing away pests like aphids.
Commonly Asked Questions about Garden Watering
How much water do lawns need?
During dry spells, lawns require about an inch of water per week, which can be achieved by running a sprinkler for approximately 90 minutes in one area. To measure the amount of water delivered, place an empty tuna fish can in the watering zone and stop watering when it's full.
What's the best way to water shrubs and trees?
Trees and shrubs, particularly newly planted ones, benefit from direct watering every 7 to 10 days. Avoid relying solely on sprinklers and irrigation systems to water the bases of trees and shrubs, as they may not provide sufficient moisture to these areas.
How often should I water potted plants?
Container gardens typically require watering once a day during hot, dry spells. To determine if your potted plants need water, stick your finger into the soil up to the second knuckle; if it feels dry, it's time to water.
Need Some Inspiration?
Stay informed about our newest plants and find inspiration to create the garden of your dreams by signing up for Monrovia's Grow Beautifully Newsletter.


Please login to comment.
Don't have an account?
Sign Up for free